Key Technical Specifications
| Parameter Name | Parameter Value |
|---|---|
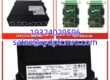
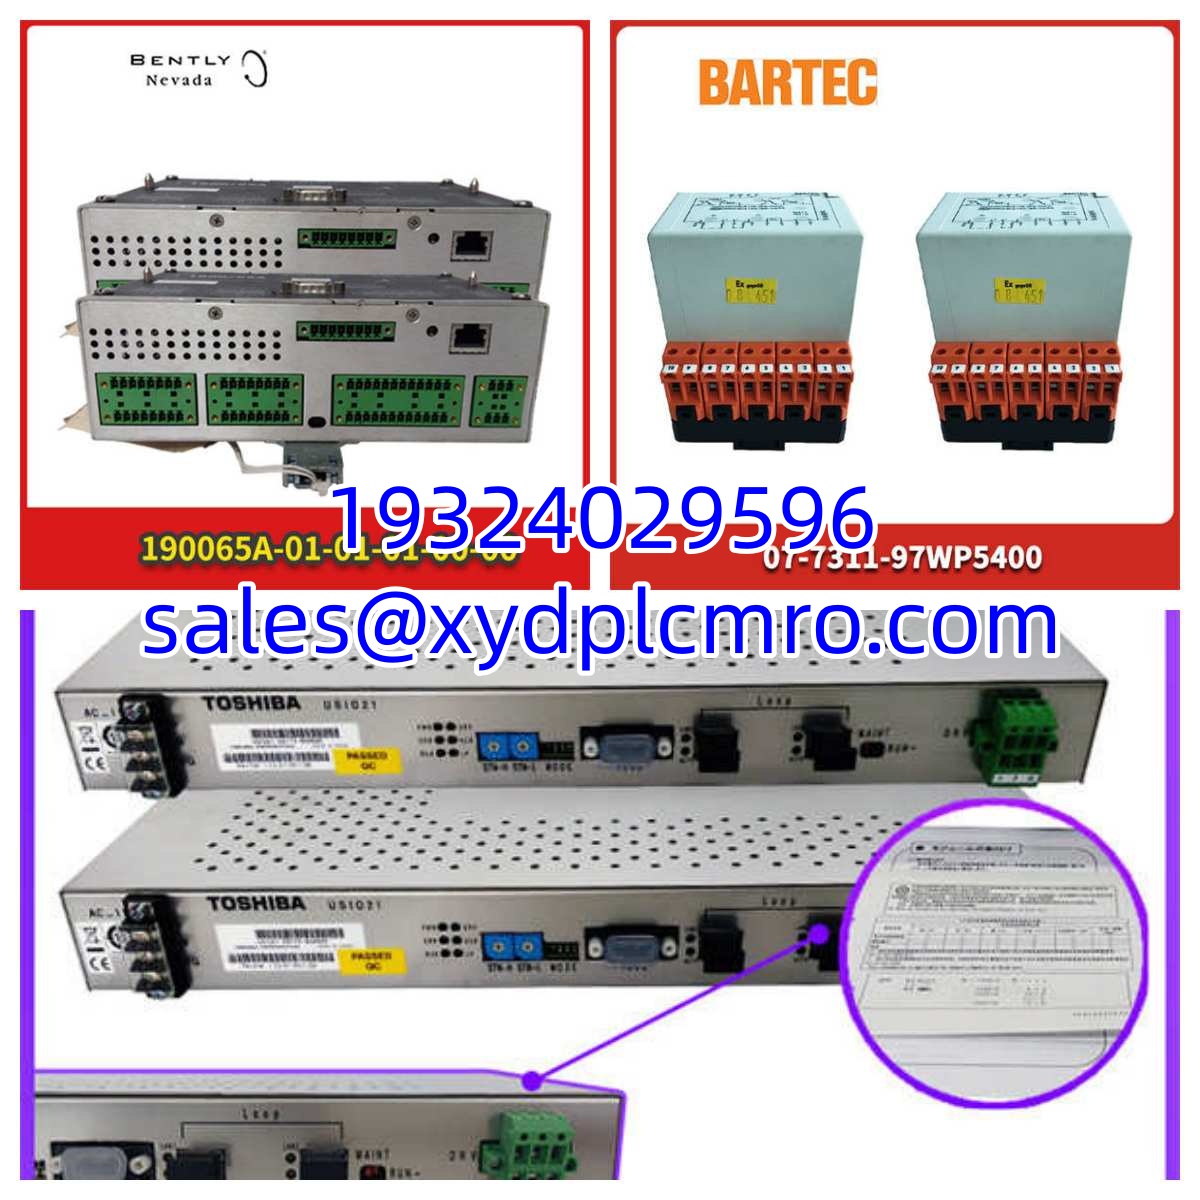
| Product Model | 3500/22M 146031-01 |
| Manufacturer | Bently Nevada |
| Product Type | Transient Data Interface (TDI) I/O Module |
| Network Interface | 10 Base-T / 100 Base-TX Ethernet |
| Installation Slot | Slot 1 Only (Adjacent to Power Supply) |
| Power Consumption | 10.5 Watts |
| Operating Temperature | -30°C to +65°C (-22°F to +150°F) |
| Storage Temperature | -40°C to +85°C (-40°F to +185°F) |
| Humidity Tolerance | 95% Non-condensing |
| Max Data Rate | 20 kHz per revolution |
| Front Panel Interface | USB-B Port |
| System Compatibility | System 1 & 3500 Rack Config Software |
Product Introduction
I’ve spent countless hours staring at blinking LEDs in sweltering turbine halls, and if there is one module that separates modern predictive maintenance from basic protection, it is this one. The BENTLY 3500/22M 146031-01 is the Transient Data Interface (TDI) that completely replaces the older 3500/20 Rack Interface Module (RIM). Instead of just passing basic health data, this module actively merges the RIM and TDXnet communication processor functions into a single card. It sits right behind the front panel, continuously pulling high-resolution waveform data from your M-series monitors and pushing it straight to the System 1 diagnostic software over standard Ethernet.Engineers actually choose this specific I/O module because it captures the exact moment a machine starts misbehaving, not just the steady-state averages. It can be configured to trigger waveform captures based on specific speed intervals or alarm events, pulling up to 48 channels of synchronized data. This specific revision is notoriously picky about backplane seating, but once it clicks in and locks, it is an absolute workhorse for continuous condition monitoring. Just remember, it is not a safety-critical trip module; if it dies, your machine protection relays will still function perfectly.
Quality SOP & Tech Pitfalls (The Reality Check)
Before this module ever leaves our bench, it goes through a strict validation protocol. We start with a visual counterfeit check and inspect the USB-B port for physical damage. Next, it gets mounted in a live 3500/05 test rack where we verify the OK, TX/RX, and CONFIG OK LEDs light up in the correct boot sequence. We use a Fluke 115 to check insulation resistance and ensure the 10.5W power draw is stable under load. Finally, we log the firmware revision and seal it in an anti-static bag.Now for the reality check: I once watched a tech spend four hours trying to figure out why a brand new TDI was throwing configuration errors, only to realize he had shoved it into Slot 2. This module absolutely must go into Slot 1, directly next to the power supply. Another common pitfall is ignoring the dynamic data enable disk. The base module only collects steady-state data; if you want transient waveforms, you need the specific software license disk installed. Don’t assume it will magically capture dynamic data out of the box.
Installation & Configuration Guide
- Pre-Installation: ⚠️ Safety First. Ensure the 3500 rack power is OFF and wait 60 seconds for capacitors to discharge. Take a clear photo of the existing Slot 1 module and the backplane DIP switches before touching anything.
- Removal: Label all Ethernet and USB cables. Press the top and bottom ejector tabs evenly and pull the old module straight out. Never pry it with a screwdriver, or you will bend the backplane pins.
- Installation: Copy DIP/Jumper settings exactly. This prevents 90% of startup communication failures. Align the 146031-01 I/O module with the Slot 1 guides and push firmly until the ejector tabs snap into place.
- Power-On & Testing: Restore 24V DC rack power. Watch the front panel: the OK LED should turn solid green within 30 seconds. Open System 1 software, verify the Ethernet link is active, and confirm that the CONFIG OK LED is illuminated before downloading any new parameters.
Compatible Replacement Models
| Replacement Model | Compatibility Tier | Field Notes |
|---|---|---|
| 3500/22-01-01-00 | ✅ Drop-in Replacement | The complete assembly part number for this exact TDI setup. |
| 288055-01 | ✅ Drop-in Replacement | This is the front panel component number; verify it matches your chassis. |
| 3500/20 125760-01 | ⚠️ Software Compatible | Older RIM module. Requires System 1 software downgrade or logic recompile. |
| 3500/22-02-01-00 | ❌ Hardware Mod Required | TMR (Triple Modular Redundant) version. Do not use unless your rack is specifically wired for TMR voting. |